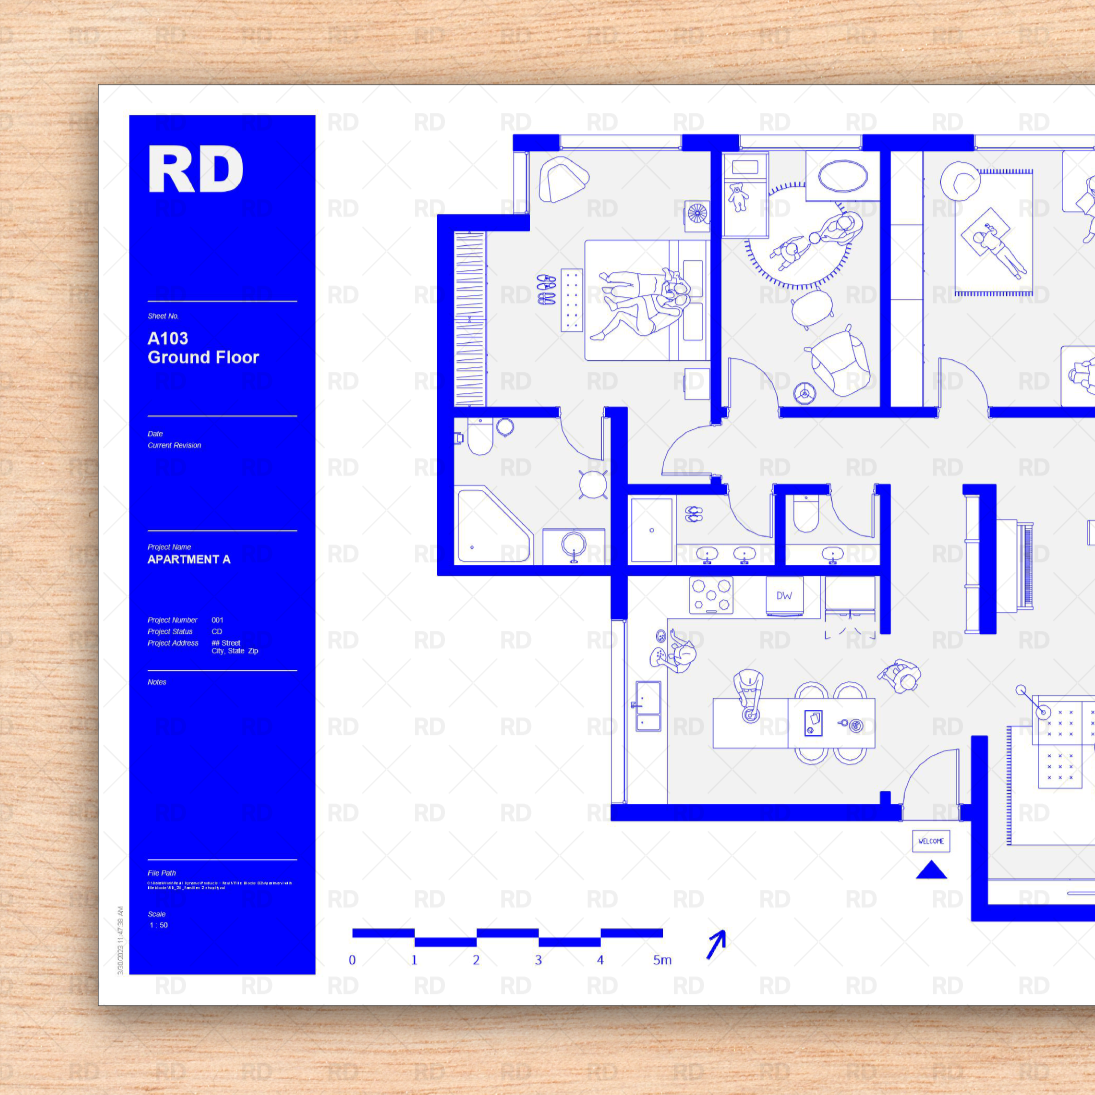
Adding a Logo to a Revit Title Block
Before starting using your new Title Block, it's recommended to edit the Title Block Families in order to add your office logo. If you're new to Revit, follow this beginner tutorial to learn how to prepare the logo, which file format is better, and how to import the Logo to your new Title Block while preserving that transparent background.

Which logo format is better, DWG or PNG?
While a PNG file is usually associated with maintaining a transparent background in other software, unfortunately, this is not the case in Revit. PNG Files with translucent backgrounds will be displayed with a white/black background and lose its transparency.
We recommend using a DWG file, as this is the only way of preserving the logo resolution while also maintaining the transparent background in Revit, and even the option to explode the objects and change their graphics.

My logo was created in Adobe Illustrator, can I import it to Revit?
Of course! In order to use an AI (Adobe Illustrator file) Logo in Revit, first you have to export it to a DWG file.
- Select the Logo in Adobe Illustrator
- File > Export > Export As
- Select the DWG Format
- Make sure that "Export Selected Art Only" is selected
- Save the Logo as a DWG file

How to add your Logo to a Revit Title Block Family?

Adding a Vector DWG Logo to a Title Block
As explained above, the only way to use a Logo with a transparent background is to import a vector DWG logo into the Title Block Family. In this Title Block (The Ultimate Colored Title Block) we already have a colorful background, so the logo must be a vector file.
- Edit the Title Block Family
- Open the title block in the Family Editor: Edit Family
- Click Insert tab > Import panel > Import Image
- Navigate to the location of the image file
- Select the image file, and click Open
Editing the DWG Logo
- Use the Scale tool to resize the Logo
- Explode the DWG (Full Explode)
- Autodesk Hatches will be converted to Filled Regions, select the Filled Region to change the line color, line wieght or fill color
Adding a PNG / JPEG Logo to a Title Block
If the transparent background is not important, you can use a raster file. Revit supports the following image file types: BMP (bitmap), JPEG, JPG, PNG, and TIFF.
- Create a new Sheet and place the Title Block, or edit the Title Block Family directly by opening the rfa file
- Open the title block in the Family Editor: Edit Family
- Click Insert tab > Import panel > Import Image
- Navigate to the location of the image file
- Select the image file, and click Open
- Use the Scale tool to resize the Logo
Pro tip: When using Images, Import the file using the image size at which you want it to display in the title block. If you load and resize a large image file in the title block, Revit retains the large file size, which can degrade performance. To improve performance, use the smallest acceptable image file.
Looking for a super modern and parametric smart Title Block?
Browse our Revit Title Block Families, availble for both Metric and imperial systems:


Leave a comment